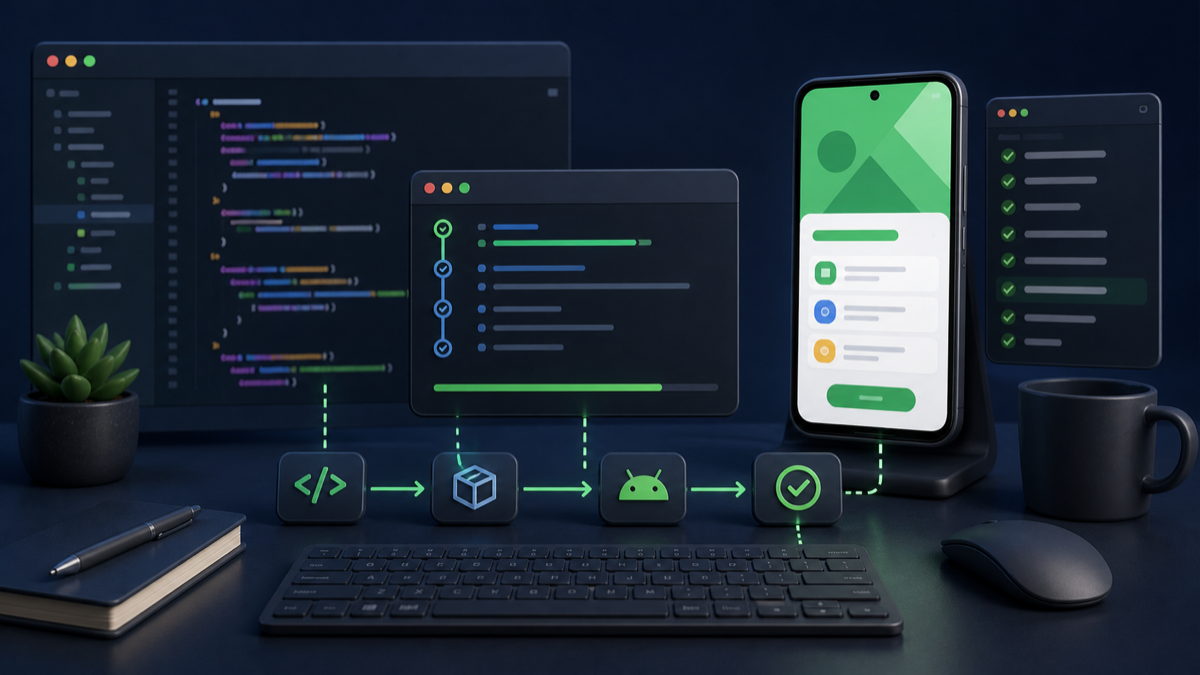

Claude Code Meets Android CLI: Build, Run, and Test
Use Claude Code with Android CLI to create, build, run, inspect, and test a Jetpack Compose app through one practical agent workflow.
Asking an AI agent to write an Android screen is easy. Getting it to build the project, launch the app, inspect the result, and prove that the feature works is where things usually become messy.
The agent writes Kotlin, stops after the code looks reasonable, and tells you the task is done. Then you open Android Studio and find a broken Gradle build, an emulator that was never launched, or a Compose screen that compiles but does not behave correctly.
In my previous article, Claude Code is not a Chatbot... It is an Execution Engine, I explained why the way we organize context, rules, skills, and tasks matters. This time, let us make that idea practical. We will connect Claude Code to Android CLI and build a workflow that does not stop at generated code.
What Android CLI changes
Android CLI is Google's command-line interface for agent-first Android development. Version 1.0 became stable in May 2026, and it gives terminal-based agents a predictable way to work with the Android SDK and Android Studio.
That last part is important. Android development has always had command-line tools, but an agent had to understand several independent tools and guess how they fit together. Android CLI gives it one consistent interface for common tasks:
- Create an Android project from an official template.
- Install and inspect SDK components.
- Create and control emulators.
- Deploy an APK to a device.
- Read the active UI layout and capture screenshots.
- Use Android Studio for semantic code analysis and Compose preview rendering.
- Run natural-language user flows called Journeys.
Claude Code remains the planner and executor. Android CLI becomes the Android-aware toolbox it can call. One understands your goal; the other gives that goal a reliable path into the SDK, IDE, emulator, and test environment.
The workflow we are building
For this walkthrough, we will build a small Jetpack Compose screen called FocusList. A user can add a task, mark it as complete, and see an empty state when there are no tasks.
The feature is deliberately simple. Our focus is the development loop:
- Give Claude Code clear project rules.
- Ask it to implement one bounded feature.
- Build and run tests with Gradle.
- Launch an emulator and deploy the APK.
- Inspect the visible UI instead of trusting the source code.
- Run a user Journey and verify the behavior.
This is the key idea for the whole article: Claude proposes; the toolchain proves.
1. Install Android CLI and teach Claude how to use it
Install Android CLI using the official option for your operating system. On macOS, Homebrew is the simplest route:
brew tap android/tap
brew install android-cli
Google also provides installers for Linux and Windows on the Android CLI download page.
Once it is installed, check the setup and update it:
android --version
android update
android info
Now initialize the agent integration:
android init
This installs the base Android CLI skill for detected agents. You can then browse the rest of Google's Android skills:
android skills list --long
android skills find 'testing'
Skills are useful because they give the agent Android-specific instructions only when they are relevant. You do not need to place every Android guideline inside one enormous project file.
2. Create a small Compose project
If you already have a project, open it and skip this command. For a clean example, Android CLI can create one from an official template:
android create --name=FocusList --output=./FocusList empty-activity-agp-9
cd FocusList
Before asking Claude to change anything, let it inspect the project. Then give it a concrete task:
Implement a FocusList feature in Jetpack Compose.

The screen must:
- show an empty state when there are no tasks
- let the user add a task with a non-empty title
- let the user mark a task as complete
- preserve state across configuration changes

Keep the feature small. Follow the existing project architecture.
Add unit tests for the state logic and Compose UI tests for the main flow.
Do not change Gradle or dependency versions unless the feature requires it.
Build and run the relevant tests before reporting completion.
Notice what this prompt does not contain: implementation details for every class. I want the agent to read the project and work with its architecture. But the behavior, boundaries, and proof of completion are explicit.
If Jetpack Compose is still new to you, my Jetpack Compose quick review covers the foundations.
3. Give the agent useful project context
A good prompt describes the task. A good CLAUDE.md describes the environment in which every task must be completed.
For this sample project, a short file is enough:
# FocusList project

- Kotlin and Jetpack Compose only
- Unidirectional data flow
- ViewModels expose immutable UI state
- Business logic must not live inside composables
- Reuse the existing Material theme

## Verification

- Run ./gradlew testDebugUnitTest
- Run the relevant connected UI tests
- Launch the app and inspect the changed screen
- Do not claim completion while any required check is failing
Keep this file focused on stable project knowledge. Ticket-specific requirements belong in the prompt. Commands that can prove whether the work is correct belong in the verification section.
This separation saves repetition, but it also reduces a subtle problem: the agent inventing its own definition of done every time you open a new session.
4. Build before touching an emulator
Once Claude finishes the first implementation, ask it to run the local checks:
./gradlew assembleDebug testDebugUnitTest
This is the cheapest place to catch compiler errors, broken imports, failing state tests, and accidental dependency changes.
If the build fails, the agent should read the actual error, fix the smallest relevant problem, and run the command again. It should not disable a lint rule, remove a test, or change half the project just to make the terminal green.
I usually add one simple guardrail to the task:
If a verification command fails, diagnose the root cause.
Do not weaken or skip the check without asking me.
That one sentence prevents a surprising amount of creative test avoidance.
5. Run the app on a real Android environment
A successful Gradle build tells us that the code can become an APK. It does not tell us that the user can complete the feature.
Create and start an emulator:
android emulator create --profile=medium_phone
android emulator list
android emulator start medium_phone
Then deploy the APK:
android run --apks=app/build/outputs/apk/debug/app-debug.apk
There is an important detail here: android run deploys an APK, but it does not build one. That is why the Gradle step comes first.
If more than one device is connected, pass its serial number using --device. The agent can discover available devices through adb devices instead of guessing.
6. Let the agent inspect what it built
Now we move from code-level confidence to UI-level evidence.
Android CLI can return the active layout as structured JSON and capture the current screen:
android layout --pretty
android screen capture --output=focus-list.png
The layout helps the agent identify visible and interactive elements. The screenshot lets it reason about what a user actually sees: spacing, clipping, empty states, disabled buttons, and other problems that a compiler cannot catch.
Android CLI can also connect to an open Android Studio project. At the time of writing, these android studio commands are preview features and require a compatible Android Studio preview with Gemini enabled.
android studio check
android studio analyze-file app/src/main/java/com/example/focuslist/MainActivity.kt
android studio render-compose-preview \
  --output-image-file=focus-preview.png \
  --print-semantics \
  app/src/main/java/com/example/focuslist/ui/FocusListScreen.kt \
  FocusListScreenPreview
This gives the agent access to Android Studio's inspections, semantic understanding, and Compose rendering without asking it to operate the IDE like a person clicking around.
7. Test a user journey, not just a function
Unit tests are excellent for state transitions. Compose tests are excellent for deterministic UI behavior. But sometimes the clearest description of a feature is still the way a person uses it.
Journeys let you describe that flow in natural language. The agent converts the instructions into interactions with the app and evaluates the assertions using what it can see on the device.
For our sample feature, the Journey can be written like this:
Journey: Add and complete a focus task

1. Launch the FocusList app.
2. Verify that the empty state is visible.
3. Tap the add-task action.
4. Enter "Prepare release notes" as the title.
5. Save the task.
6. Verify that the task appears and is not complete.
7. Mark the task as complete.
8. Verify that the task now has a completed state.
Then ask Claude Code:
Using Android CLI, create a Journey from the flow below,
run it on the active emulator, and report evidence for every assertion.
If a step fails, preserve the failure output and diagnose it before editing code.
A Journey does not replace your test suite. It gives you another layer: a readable description of a critical experience that can also run from a terminal or CI/CD environment.
What the agent will still get wrong
Giving an agent better tools does not make engineering judgment automatic. You still need to review the decisions behind the green checks.
These are the areas I would inspect carefully:
- Unnecessary dependency changes: an agent may upgrade Gradle, Kotlin, or Compose to solve a problem that did not require an upgrade.
- Architecture shortcuts: the screen may work while business logic slowly leaks into composables.
- Lifecycle assumptions: a happy-path demo can hide state restoration, process death, or configuration-change problems.
- Visual quality: a screenshot can prove that a button exists, but spacing, hierarchy, accessibility, and clarity still need a human eye.
- Test quality: generated tests sometimes mirror the implementation too closely or assert details that users do not care about.
- Scope drift: the agent may refactor nearby code because it sees an opportunity, even when the task never required it.
The agent should make the evidence easier to collect. It should not lower the standard of evidence.
A workflow I would actually use
For daily Android work, I would keep the loop simple:
- Start with one bounded task and explicit acceptance criteria.
- Let Claude inspect the project before proposing changes.
- Review its plan when the task touches architecture or dependencies.
- Run the cheapest checks first: compilation, unit tests, and static analysis.
- Deploy to an emulator only after the APK builds.
- Inspect the screen and run the critical user Journey.
- Review the diff and the evidence before accepting completion.
If something fails, send the agent back into the same loop with the failure attached. Do not restart with a vague prompt such as "try again." The error output is useful context; keep it.
This workflow is not fully autonomous, and I do not think it should be. The valuable part is that the repetitive movement between code, Gradle, Android Studio, emulator, and verification becomes much easier to automate while the developer keeps control of the decisions.
Final thoughts
Claude Code becomes far more useful when it can do more than edit Kotlin files. Android CLI gives it a stable path into the rest of Android development: SDK setup, project creation, Android Studio analysis, emulators, screenshots, layout inspection, and user Journeys.
The result is not an agent that magically understands your product. It is a better engineering loop: clearer instructions, smaller changes, faster feedback, and visible proof.
Start with one feature. Make the agent build it, run it, inspect it, and test it. Once that loop is reliable, then automate more.
If you try this workflow on a real Android project, share which step saved you the most time and which one still needed the most human attention.





MVC, MVP, MVVM, and MVI: They Didn’t Replace Each Other. They Evolved...